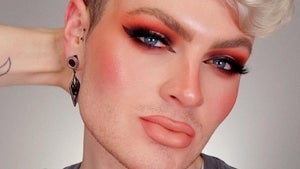
However, there were two distinct looks from the 90s. The first was the preppy 90s look. Think gingham co-ords and fluffy blow-dries from Clueless. Then, there was the 90s grunge revolving around flannel shirts, doc marten boots, and Nirvana. Today, we're going to be looking at the latter and how to get that 90s grunge makeup look.
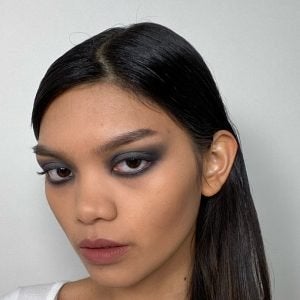
What is 90s grunge makeup?
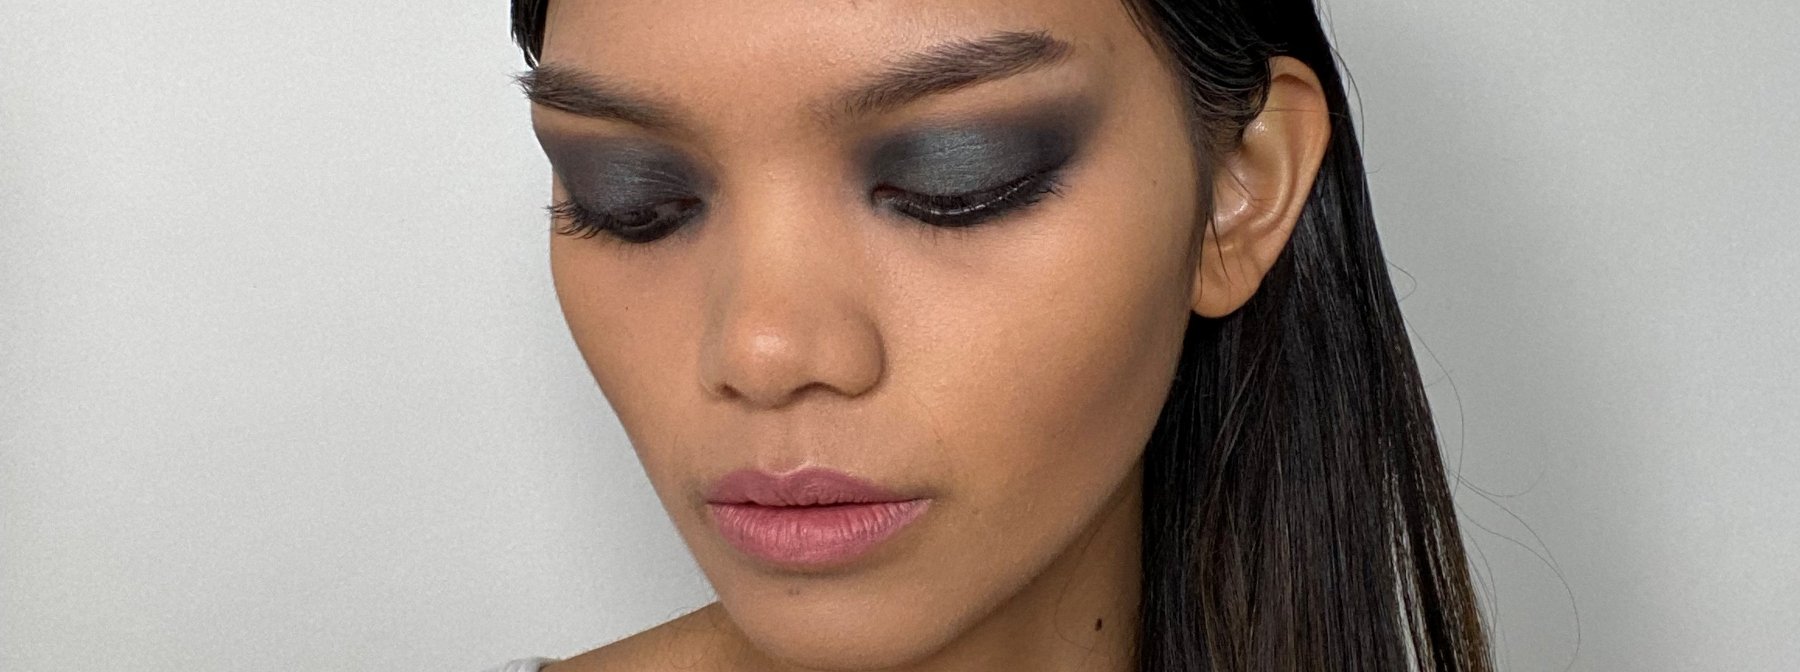
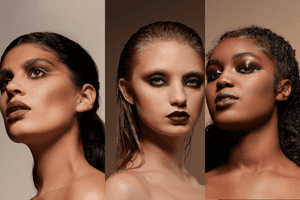
So what exactly is 90s grunge makeup? We're talking about dark eyes, matte lips, and something we thought was never to be seen again. That's right, the thin brow. However, there's no need to panic, no eyebrows will be harmed in the making of this look. With the makeup techniques and products we're blessed with today, we can easily achieve the 90s grunge makeup without sacrificing the hairs that frame our faces. This means we can sport a 90s grunge on Friday night and a natural makeup look on Saturday.
Grunge Makeup Tutorial
The final look we want to achieve is a silky complexion with tidy brows, a dark eye and a matte lip.
How to do a grunge base
To begin our grunge makeup tutorial, lets start by prepping our base to hold the makeup in place and mattify any shine.
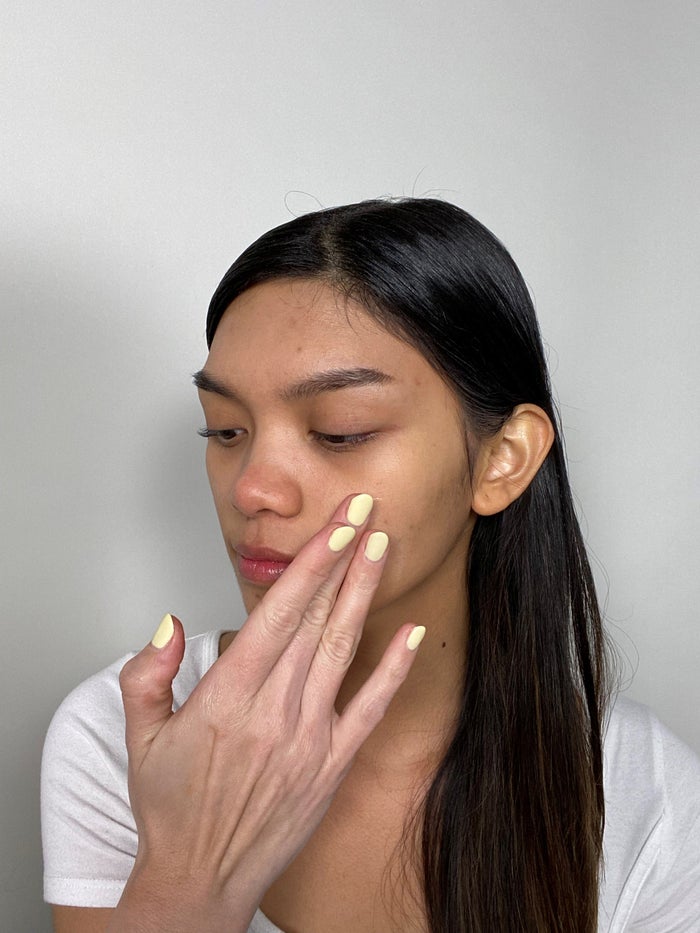
Step One: Prep the skin with a lightweight mattifying primer such as the Illamasqua Matte Veil Primer to smooth away the appearance of unwanted texture and add a silky finish. Apply a small amount with fingers onto the top of cleansed, moisturised skin. Focus on the T-Zone and blend out. After a few seconds, your freshly primed skin is ready for foundation.
Step Two: Apply your foundation how you would normally. Take a look at our Foundation Application guide to find the right shade and style of foundation for you. After following these tips you'll be confident leaving the house, knowing your foundation is entirely streak-free.
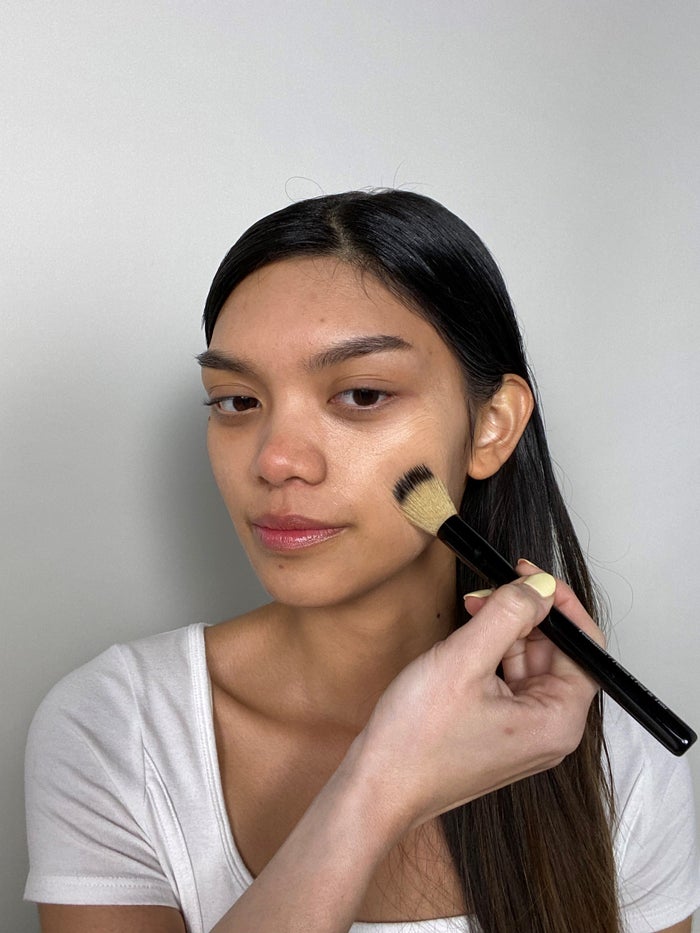
Step Three: After foundation usually follows concealer, particularly under the eyes. However, you can actually skip this step entirely for the ultimate 90s grunge makeup. Bright eyed and bushy tailed is certainly not a part of this particular look. We like to call it sleepless chic.
Step Four: Dust some loose powder over the base to set the foundation in place and mattify any shine.
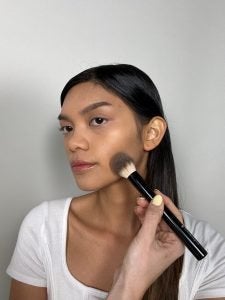
Step Five: As a last step for the base, dust a Colour Correcting Bronzer into the hollows of the cheeks using circular motions for a natural looking contour.
How to do grunge eye makeup
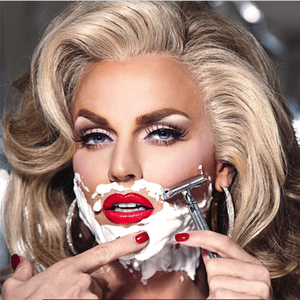
Step One: To achieve that thin brow pluck and razor-free, begin by combing your brows up and out. Trim off the extra length at the top of your brow to achieve a lighter look without actually removing any of the hairs.
Step Two: Gel the hairs into place using a brow gel.
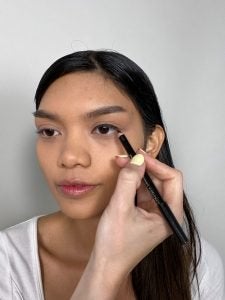
Step Three: Moving on to the eyes, line the upper lid using the Colouring Eye Pencil in the shade S.O.P.H.I.E to draw across from the inner to outer corner. Line as close to the lashes as possible so no skin shows through. Don’t worry about how steady you are as it will be smoked out. The eye pencil can be as big or as small as you need it to be as it simply acts as a base and helps you map out the shape of an elongated cat eye.
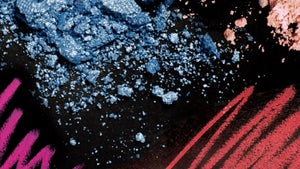
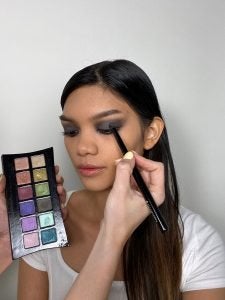
Step Five: Mix the shades Vast and Nightfall from the Skyrocket Artistry Palette for a final smoke and dust all over the lid with a blender brush.
Step Six: Top off with a coat of mascara on the top and bottom lashes.
How to do grunge lipstick
Lastly, we have grunge lipstick. You can chose the shade of your preference here, whether that's a dark or brighter lip. However, it needs to be matte for a true 90s grunge look. We're going to look at mastering the nude colour to finish off this look of the moment.
Step One: With a matte finish, it's important that your lips are in tip-top condition. Exfoliate your lips with a scrub (you can mix 2 parts of honey and one part of sugar) and use gentle circular motions. Buff a small amount of foundation around the lip to erase your natural lip line.
Step Two: Trace across your cupids bow and the centre of your bottom lip to accentuate the lips using the Colouring Lip Pencil in the shade Revealed. From here, take the liner inside the lip line to trace the outer top and bottom corners. This will create a full, supple effect.
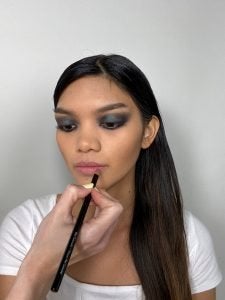
Step Three: Once you have over-traced the outlines, apply the liner to the entire lip area.
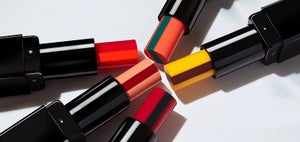
Step Four: For a crisp finish, follow with the Ultramatter Lipstick in the shade Bare as the final piece of your 90s grunge lipstick look!
With your makeup look complete, throw on a choker and scrape the hair back into some space buns and you have successfully transported back to the 90s.
Shop This Post:

